Virtual Robot Racing League
Developer Center

This guide will help you to test your built AI DLL. If you need to set up your development/build environment, follow this guide first.
Step 1: Download and extract the VRRL Testbed application to an [InstallFolder] of your choice.
Step 2: Copy your built DLL to the [InstallFolder]/AI/ directory.
Note 1: This directory is created by the Testbed after it's been run once. If it's not there, you can create it yourself.
Note 2: It may be helpful to set up a Post-build event to automatically copy your built DLL to the testbed folder.
Step 3: Run the VirtualRobotRacingTestbed.exe in the [InstallFolder].
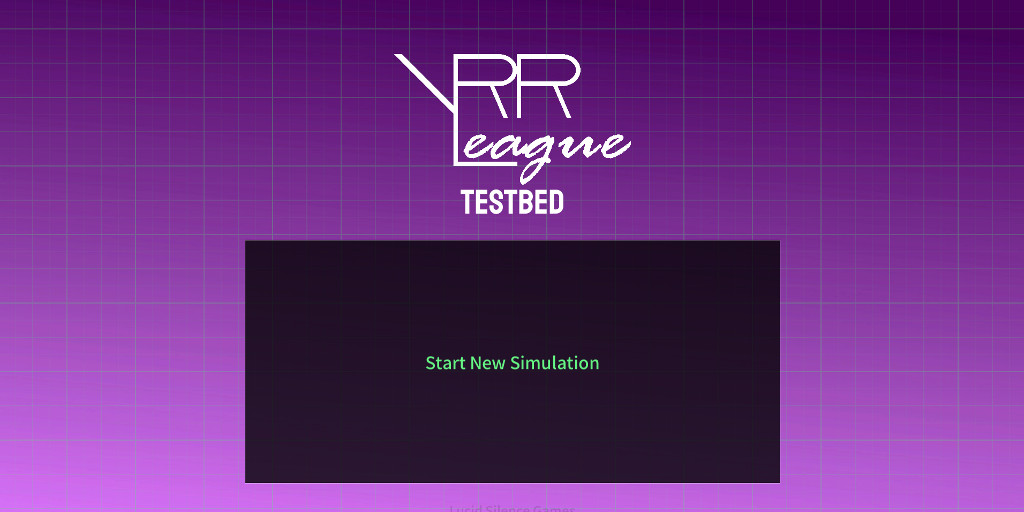
Step 4: Click the "Start New Simulation" button.
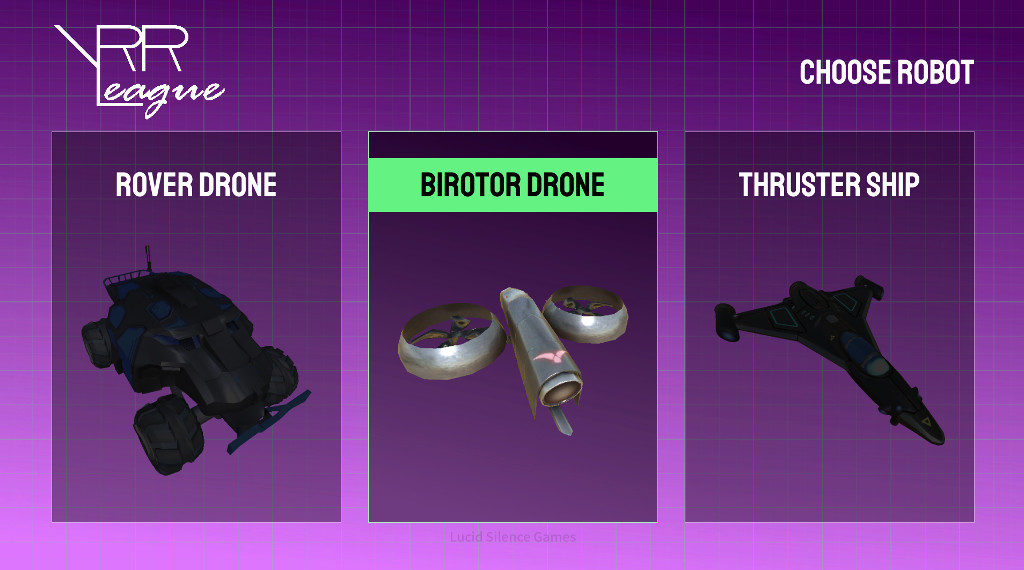
Step 5: Choose the form factor of robot you'd like to test with.
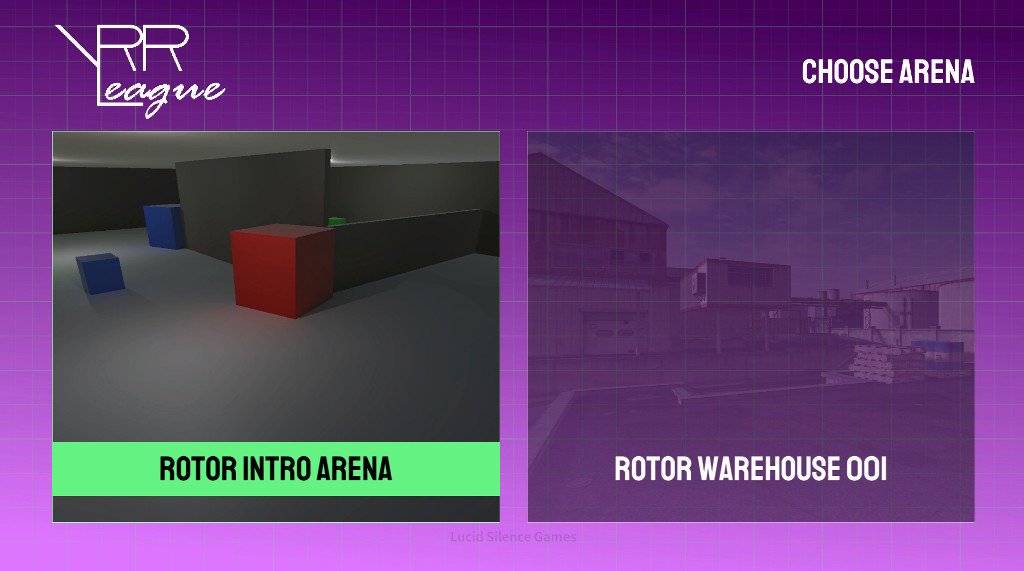
Step 6: Choose the arena you'd like to test in.
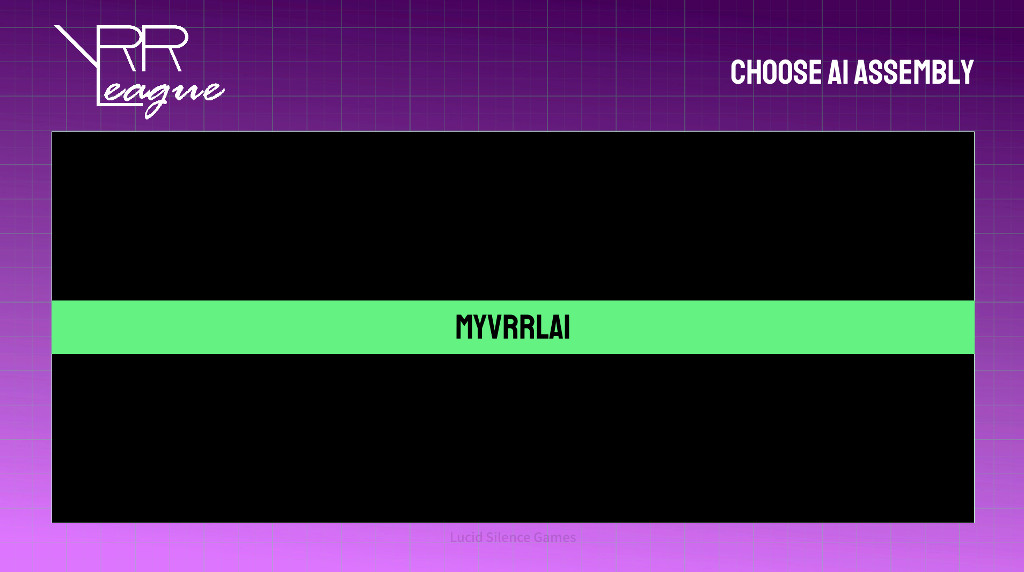
Step 7: Choose your DLL from the options shown.
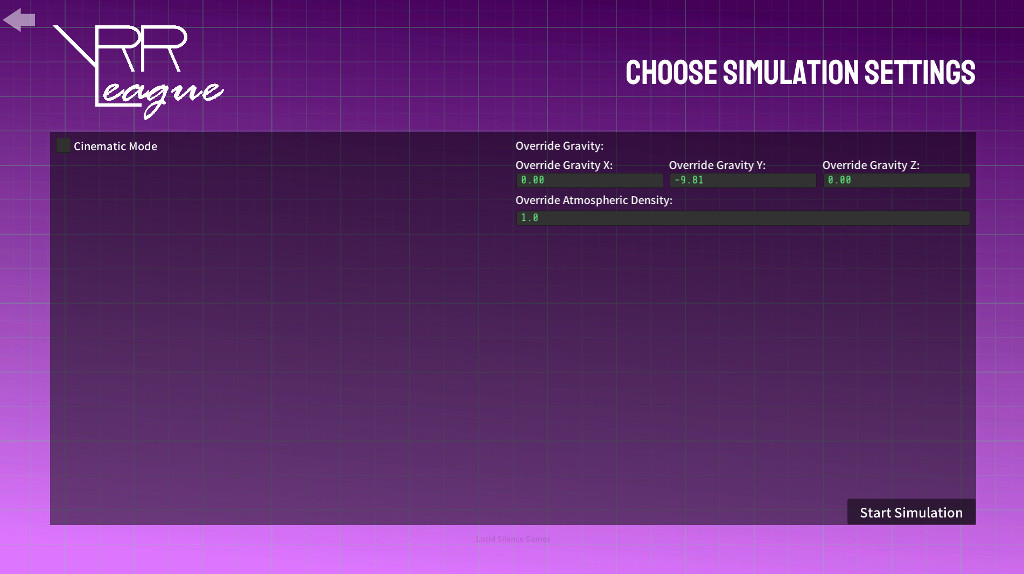
Step 8: Alter any options, if you'd like, or leave them at the default. Press the "Start Simulation" button in the bottom-right.
Note: You can get more details about the various options available on this screen on this page.
Step 9: Watch your AI attempt to execute the course. Learn more about how your AI can provide feedback for its thinking on this page. When the course is finished, press the Space Bar to go to the results screen.
Step 10: Review your results.
Step 11: Learn from your mistakes. Improve your algorithm. Teach your AI to beat any obstacle. Rinse. Repeat.
Step 12: GOTO Step 3;